If you have ever tried to share a photo from your iPhone only to discover that it will not open on a Windows computer or Android device, you have encountered HEIC files. Apple introduced HEIC as the default photo format starting with iOS 11, and while it offers superior compression and image quality, compatibility remains a significant challenge for many users. This comprehensive guide covers everything you need to know about converting HEIC to JPG in 2026, including the best methods, tools, and practical tips for seamless image conversion.
What is HEIC and Why Convert to JPG?
HEIC stands for High Efficiency Image Container, and it is Apple proprietary image format that uses the HEVC (H.265) video compression standard. This format was designed to replace JPEG as the default capture format on iPhones and iPads, offering files that are typically 40-60% smaller than equivalent JPEG images while maintaining the same visual quality. The format supports advanced features like Live Photos, burst mode sequences, and HDR imaging that JPEG cannot handle.
Despite its technical advantages, HEIC faces widespread compatibility issues across different platforms and software. Windows computers often require additional codecs to open HEIC files, many third-party applications still do not support HEIC natively, and some online platforms do not accept HEIC uploads. Converting HEIC to JPG ensures that your photos can be viewed, edited, and shared across any device or platform without compatibility concerns. Our image conversion tool makes this process quick and straightforward.
The need for conversion becomes particularly apparent when sharing photos with family members who use Android devices, uploading images to websites that have not updated their upload requirements, or archiving photos for long-term storage where format longevity is a concern. JPG remains the universal standard for image sharing and is supported by virtually every image viewer, editor, and platform worldwide.
How to Convert HEIC to JPG on iPhone and iPad
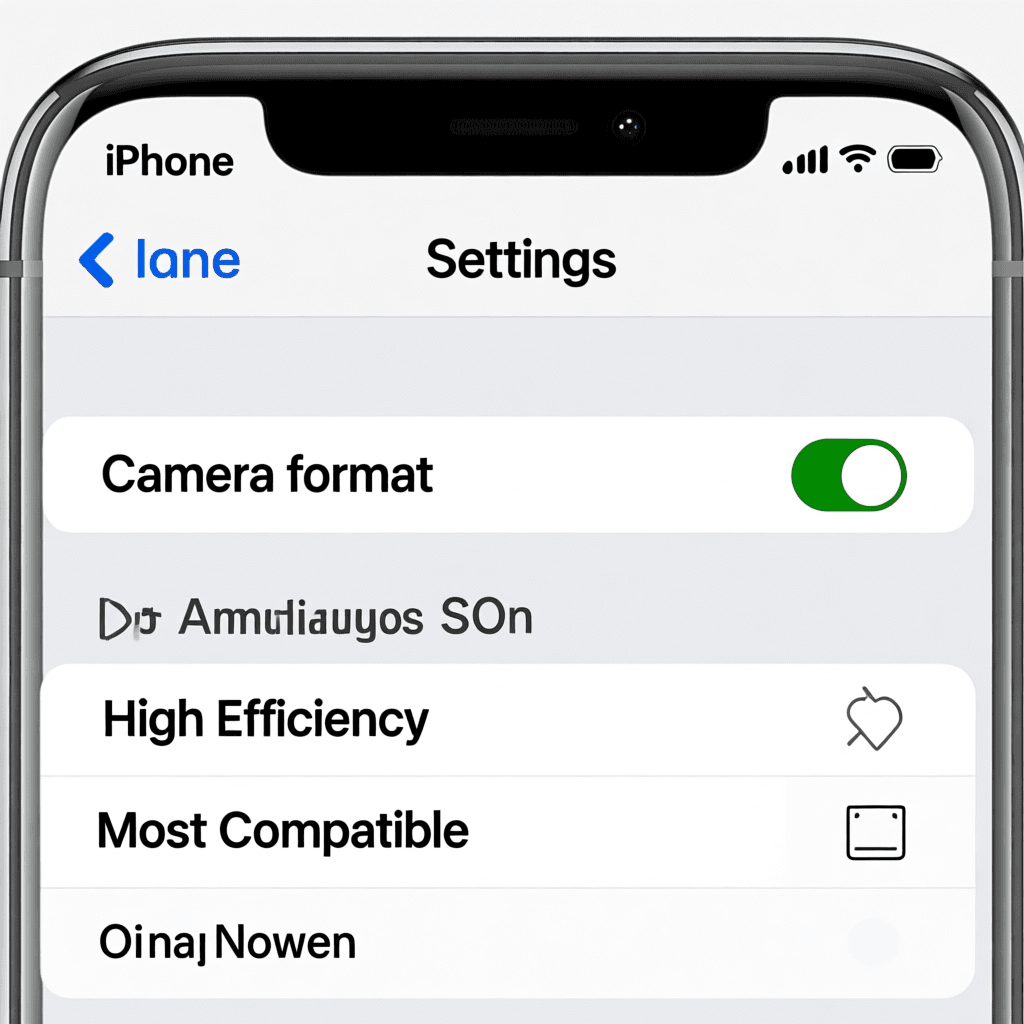
Apple provides built-in options to change your iPhone default camera settings to capture photos in JPG instead of HEIC, which eliminates the need for conversion entirely for new photos. To change this setting, go to Settings, then Camera, and select Formats. From there, choose Most Compatible instead of High Efficiency. This setting ensures that all new photos will be saved as JPG, making them immediately compatible with any device or application.
For existing HEIC photos on your iPhone, you can convert individual images by sharing them through the native share sheet. Select the photo you want to convert, tap the share button, and choose Save to Files. When saving, the system will prompt you to convert the image if compatibility issues are detected. Alternatively, you can use our online HEIC to JPG converter to quickly process multiple files without installing any apps.
Another native option involves using the Shortcuts app to create automated workflows that automatically convert HEIC to JPG when photos are captured or imported. These shortcuts can be configured to save converted versions to your photo library, iCloud Drive, or send them directly to specific folders. This approach is particularly useful for photographers who consistently need JPG outputs for their workflow.
Converting HEIC to JPG on Windows and Mac
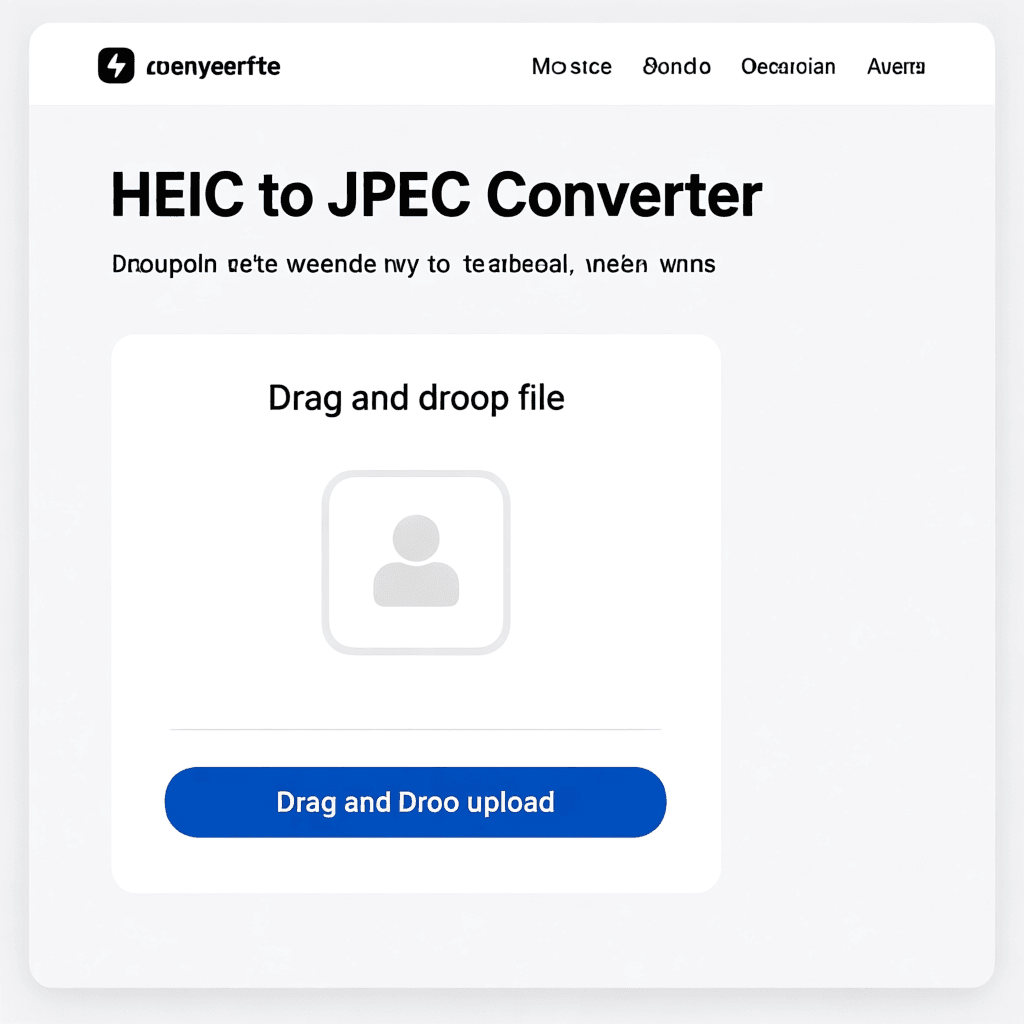
Windows 10 and 11 can open HEIC files if you have the appropriate codec installed, but for conversion purposes, you have several straightforward options. The simplest method for Windows users is to use our web-based HEIC to JPG converter, which processes files directly in your browser without requiring any software installation. Simply drag and drop your HEIC files, and the tool will convert them to JPG format within seconds.
For Mac users, converting HEIC to JPG is remarkably simple thanks to the operating system built-in capabilities. You can use the Preview application to open any HEIC file and then export it as JPG by choosing File, Export, and selecting JPEG as the format. This method preserves image quality and allows you to adjust the compression level before exporting. For batch conversion of multiple files, you can select all the HEIC images in Finder, right-click, and choose Quick Actions to convert them using Preview.
Desktop applications like IrfanView (Windows) and XnConvert (cross-platform) provide more advanced conversion options, including batch processing, quality adjustment, and resize capabilities. These tools are particularly useful for photographers who need to process large collections of HEIC files efficiently. Many professional photographers have adopted automated workflows that automatically convert HEIC imports to JPG for broader compatibility.
Online HEIC to JPG Conversion Services
Online conversion services have become increasingly popular due to their convenience and cross-platform compatibility. These web-based tools require no software installation, work on any operating system, and typically support batch processing for converting multiple files simultaneously. Most online converters use secure servers to process your images and then provide download links for the converted files.
When choosing an online conversion service, consider factors like file size limits, privacy policies, and conversion speed. Our HEIC to JPG converter offers fast processing, supports files up to 50MB, and automatically optimizes output quality. The service is completely free to use and does not require any registration or personal information. Simply upload your HEIC files, wait for processing, and download the converted JPG images.
Privacy-conscious users should be aware that some online converters may store or view your uploaded images. Always check the service privacy policy before uploading personal photos. For maximum privacy, consider using desktop applications or built-in operating system tools for conversion. Some services offer client-side conversion using JavaScript, which means your images never leave your device during the conversion process.
Best Practices for HEIC to JPG Conversion
When converting HEIC to JPG, the quality setting you choose significantly impacts the final result. JPG compression is lossy, meaning that higher compression reduces file size but also introduces visible artifacts. For most use cases, a quality setting between 85-95% provides an excellent balance, reducing file size while maintaining visual quality that is virtually indistinguishable from the original. For archival purposes or large prints, use maximum quality settings to preserve every detail.
Batch conversion is essential when dealing with large photo libraries. Manually converting hundreds of individual files is time-consuming and inefficient. Our batch conversion tool allows you to process multiple files simultaneously, saving significant time and effort. Additionally, many desktop applications support watch folders that automatically convert new HEIC files as they are added, streamlining ongoing workflows.
Metadata preservation is another important consideration during conversion. HEIC files often contain EXIF data including camera settings, location information, and capture timestamps. Quality conversion tools should preserve this metadata in the output JPG files to maintain the完整性 of your photo library. Our converter automatically preserves EXIF data during conversion, ensuring that your photos retain all important information.
Troubleshooting Common HEIC Conversion Issues
One common issue users encounter is converted JPG files appearing darker or having incorrect colors compared to the original HEIC. This typically occurs because HEIC files often use wider color gamuts and HDR metadata that do not translate directly to standard JPG. To address this, ensure your conversion tool supports color profile conversion, or manually adjust the output using photo editing software after conversion.
File size unexpectedly large after conversion can also be problematic. HEIC efficient compression means that converting to uncompressed JPG will produce much larger files. If file size is a concern, adjust the quality setting to achieve the desired balance between quality and size. Our converter automatically applies optimal compression to keep file sizes reasonable while maintaining visual quality.
Some HEIC files, particularly those containing Live Photos or burst sequences, may not convert properly using basic tools. In these cases, you may need to extract the best still frame from the HEIC file before conversion. Apples native export options typically handle these special cases automatically, converting the primary still image while handling the additional data appropriately.
Frequently Asked Questions
Does converting HEIC to JPG reduce image quality?
Yes, converting HEIC to JPG involves lossy compression, which permanently discards some image data. However, at quality settings of 85% or higher, the quality loss is minimal and typically imperceptible for most viewing contexts. HEIC already uses efficient compression, so the quality difference between a high-quality HEIC and a high-quality JPG is usually negligible.
Can I convert HEIC to JPG without losing metadata?
Yes, quality conversion tools preserve EXIF metadata including date, time, camera settings, and location information. Our converter automatically maintains this metadata during the conversion process. Always verify that your chosen conversion tool has metadata preservation enabled before processing important photos.
Why are my HEIC files not opening on Windows?
Windows requires the HEIF Image Extensions codec to open HEIC files natively. You can install this codec from the Microsoft Store for free. However, for broader compatibility and easier sharing, converting HEIC to JPG is recommended as JPG files open universally without any additional software or codecs.
Is there a way to convert HEIC to JPG automatically?
Yes, you can set your iPhone to capture in JPG format using Settings, Camera, Formats, and selecting Most Compatible. For existing files, you can use our batch conversion tool to process multiple files at once, or set up automated workflows using Shortcuts on iOS or third-party automation tools on desktop.
What is the best quality setting for HEIC to JPG conversion?
For most use cases, a quality setting between 85-95% provides the best balance between file size and visual quality. Use 90-95% for photos you plan to print or edit further. Use 80-85% for web sharing and social media where file size matters more than absolute quality.
Can I convert Live Photos from HEIC to JPG?
When converting HEIC files that contain Live Photos, only the primary still image will be converted to JPG. The motion component of Live Photos is a separate file and cannot be preserved in the standard JPG format. For preserving Live Photos, consider keeping the original HEIC files or using video formats that support motion.