Image compression has become essential for web developers, photographers, and anyone who shares photos online. You might wonder whether you can reduce file sizes without sacrificing visual quality. This guide will show you the best techniques, tools, and practices for preserving image quality while achieving optimal compression in 2026. You will learn about lossy versus lossless compression, modern formats like WebP and AVIF, and practical strategies that you can apply immediately to your workflow.
Understanding Image Compression Basics
Image compression works by removing redundant data from picture files. When you compress an image, algorithms analyze pixel patterns and eliminate information that human eyes cannot detect easily. This process reduces the file size dramatically while maintaining visual appearance. The key is finding the balance point where compression becomes noticeable to viewers.
Modern compression techniques have evolved significantly. Older methods often produced visible artifacts or color banding. Today’s algorithms use sophisticated machine learning models to predict which image details matter most to human perception. These advances mean you can achieve compression ratios of 80% or more without visible quality loss in many scenarios.
There are two primary approaches to image compression. First, you have lossless compression, which preserves every original pixel exactly. This method is ideal for archival purposes or when you need to edit images later without quality degradation. Second, you have lossy compression, which removes some data permanently. This method offers smaller files but requires careful tuning to avoid visible artifacts.
Modern Image Formats for 2026
The image format you choose matters more than compression settings sometimes. Older formats like JPEG and PNG served us well for decades, but newer alternatives offer superior compression. WebP, developed by Google, provides both lossy and lossless compression in a single format. It typically achieves 25-35% smaller files than JPEG at equivalent quality levels.
AVIF represents the latest advancement in image compression. This format uses AV1 video codec technology to deliver remarkable compression efficiency. You can expect files 50% smaller than JPEG with the same visual quality. Browser support has grown substantially, making AVIF viable for most web projects now. However, some older browsers still lack AVIF support, so you may need fallback options.
Choosing the right format depends on your specific use case. For photographs, WebP or AVIF work best. For images with text or sharp edges, PNG remains valuable due to its lossless nature. For animations, GIF still dominates, though WebP offers better compression for moving images. Consider using multiple formats and serving the appropriate one based on browser capabilities.
Best Practices for Lossless-Looking Compression
Achieving compression that appears lossless requires understanding quality settings. Most compression tools use quality scales from 1 to 100. Values above 80 generally produce results that most viewers cannot distinguish from originals. Values between 60 and 80 offer good compression with minimal visible differences. Below 60, artifacts become apparent to most people.
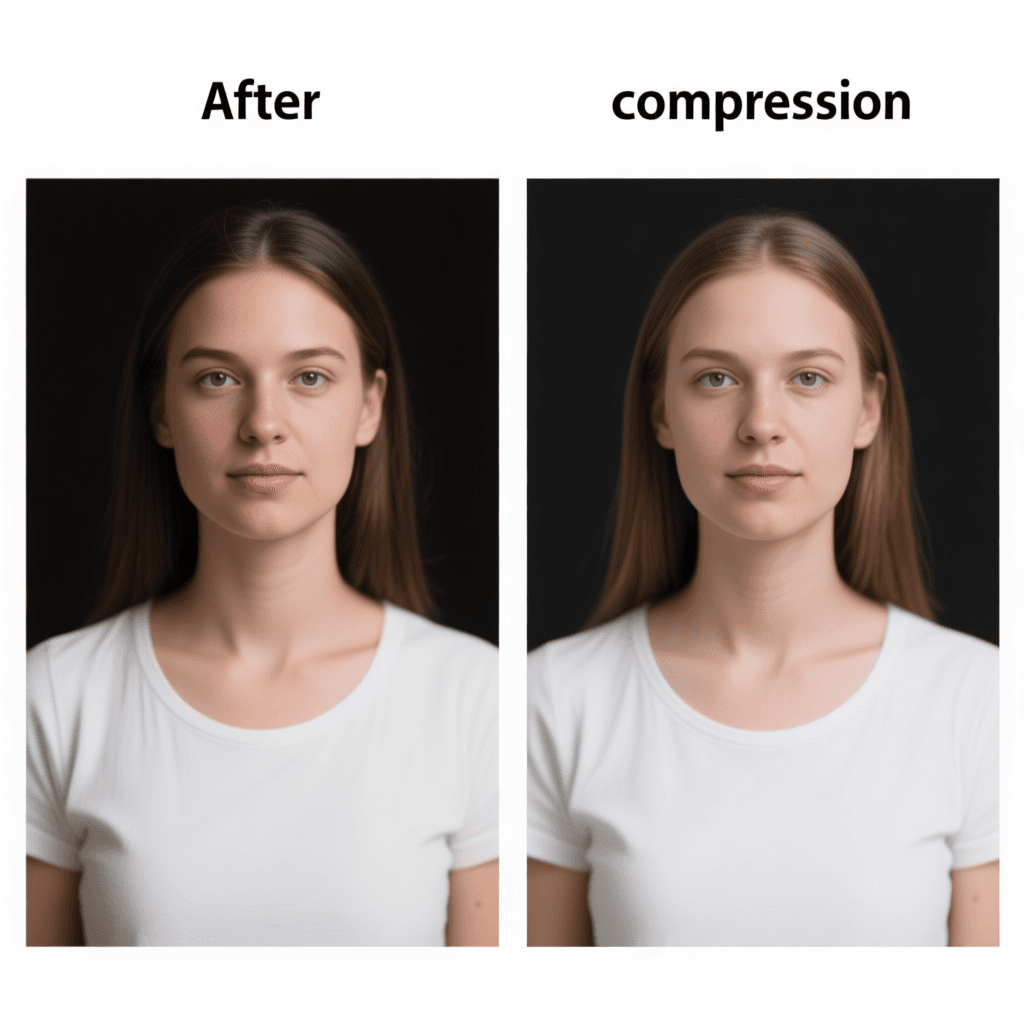
Always test compression results visually before deploying images. Tools like our image compression tool let you compare original and compressed versions side by side. This visual comparison helps you find the optimal balance between file size and quality for each specific image. What works for one photograph might not work for another due to content differences.
Batch processing requires different strategies than individual image optimization. When compressing many images at once, use consistent settings that work across the entire collection. You might need to create groups based on content type. Detailed photographs might tolerate higher compression, while images with text need gentler treatment. Systematic approaches save time while maintaining quality standards.
Practical Compression Techniques You Can Use Today
Browser-based compression offers convenience without software installation. These tools process images locally on your device, protecting your privacy while delivering good results. You can compress images directly in Chrome, Firefox, or Safari without uploading them to external servers. This approach is perfect for quick optimizations or when handling sensitive images.
Command-line tools provide automation possibilities for power users. Tools like ImageMagick, Sharp, and Squoosh offer programmatic compression capabilities. You can integrate these into build processes or automation scripts. This method ensures consistent optimization across large image libraries without manual intervention. Learning these tools takes time, but the efficiency gains are substantial.
WordPress users have numerous plugins available for automatic optimization. Plugins like Smush, Imagify, and EWWW Image Optimizer handle compression automatically during upload. These solutions work well for most websites without requiring technical expertise. You can configure quality settings globally and trust the plugin to optimize images consistently.
Common Questions About Quality-Preserving Compression
Can WebP really match JPEG quality at smaller sizes?
Yes, WebP typically achieves equivalent or better visual quality compared to JPEG at smaller file sizes. The format uses more advanced compression algorithms that better preserve visual details. Most users cannot tell the difference between a high-quality JPEG and a smaller WebP file. However, results vary depending on image content and compression settings.
How do I know if my compression is too aggressive?
Visible artifacts indicate compression is too aggressive. Look for blocking patterns in flat color areas, ringing around sharp edges, or color bleeding between adjacent regions. When you see these issues, increase the quality setting or switch to lossless compression. Regular visual inspection remains the best quality control method.
Should I compress images before or after editing?
Always compress after completing all edits. Compression discards some image data, so applying it earlier would compound quality loss through multiple generations. Work with original files throughout editing, then create compressed versions for final distribution. This workflow preserves maximum quality for future edits while optimizing delivery files.
Does resizing affect compression effectiveness?
Yes, resizing significantly impacts compression results. Smaller images require fewer bytes to represent, so compression becomes more effective after downscaling. If your display needs are modest, reducing dimensions before compression yields better results. Always resize to the actual display size rather than relying on CSS to scale down larger images.
Are there any files that should never be compressed?
Source images intended for professional printing should avoid lossy compression. Print outputs reveal compression artifacts that screens might hide. Additionally, images you plan to edit extensively later benefit from keeping original versions uncompressed. For archival purposes, use lossless formats or keep originals separate from compressed derivatives.
Summary
Image compression without quality loss is entirely achievable in 2026 with the right techniques and tools. Modern formats like WebP and AVIF deliver superior compression compared to older standards. Always test your compressed images visually, and use quality settings above 80 for best results. Browser-based tools offer convenient compression without software installation, while automation tools scale for large projects. Remember to compress after editing, resize appropriately, and choose formats matching your content type. Start optimizing your images today using our free compression tool and enjoy faster websites without sacrificing visual quality.